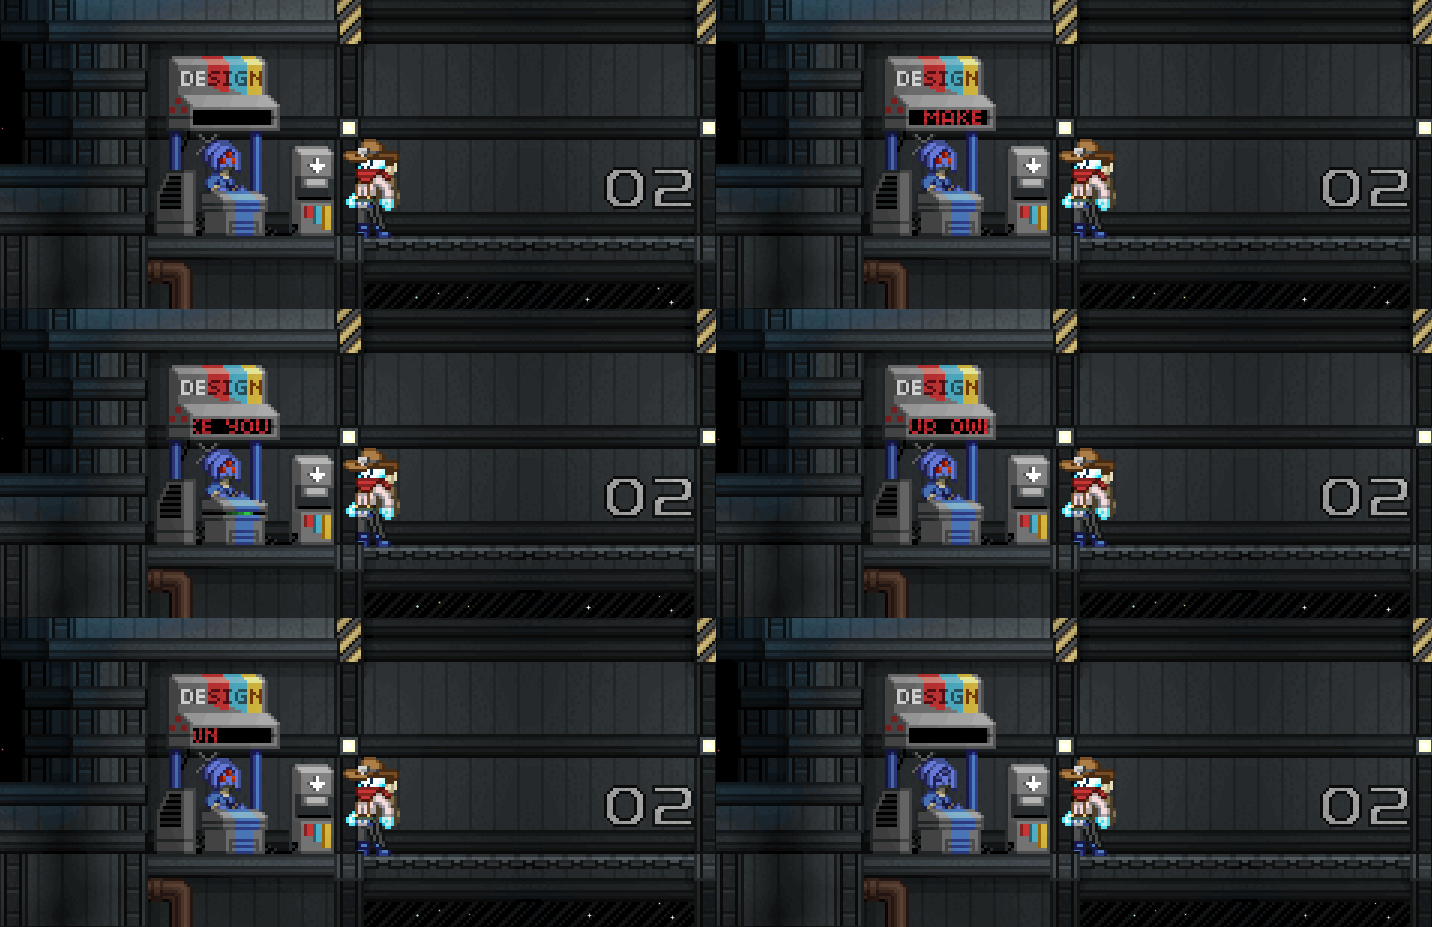
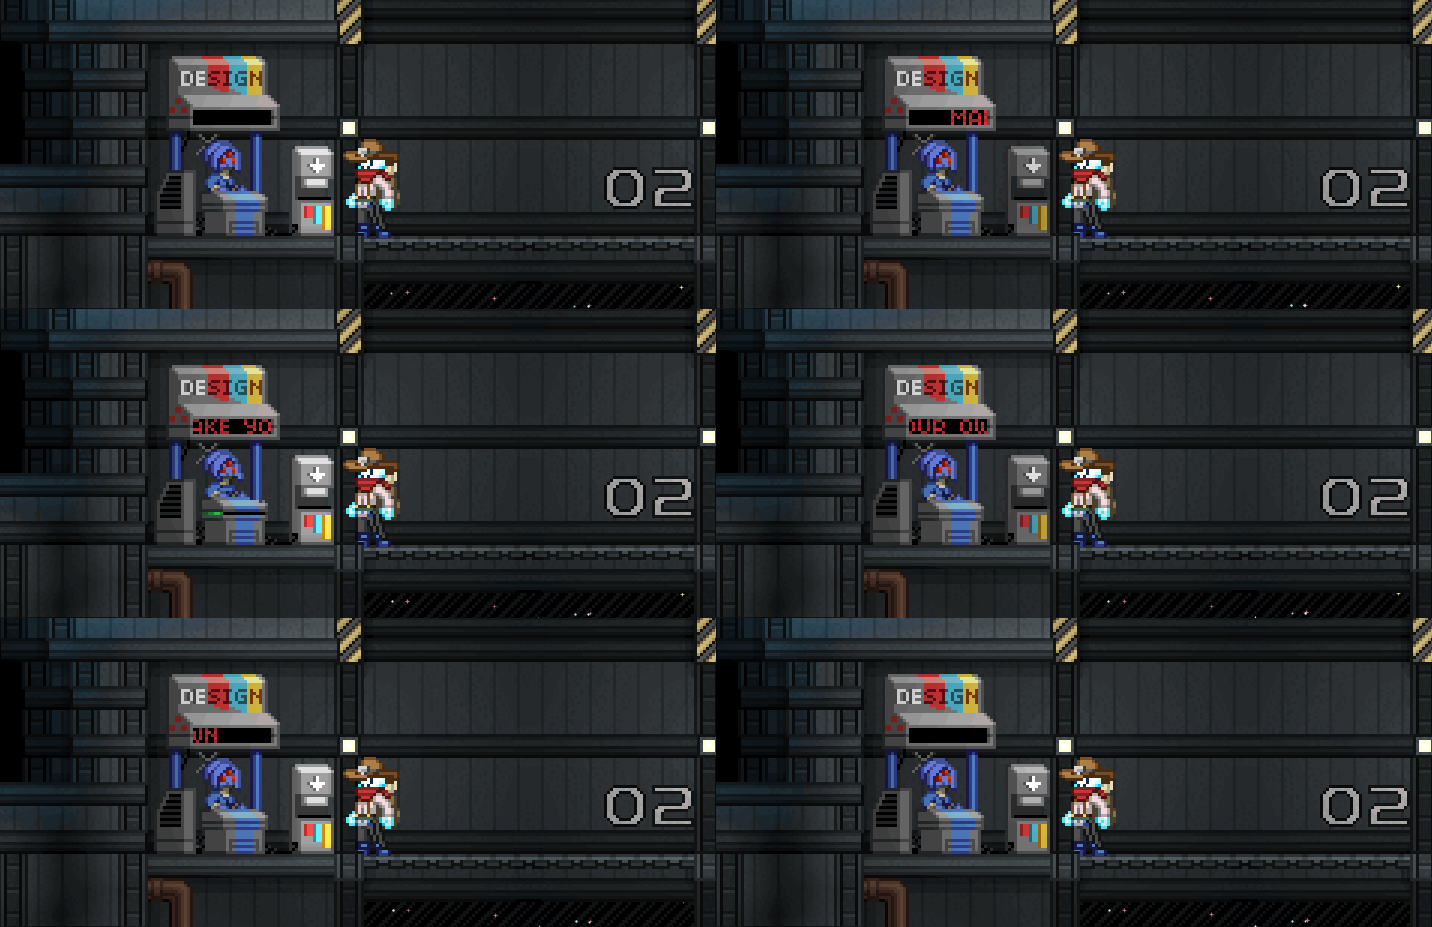
Guide:Animated Signs
Contents
Introduction
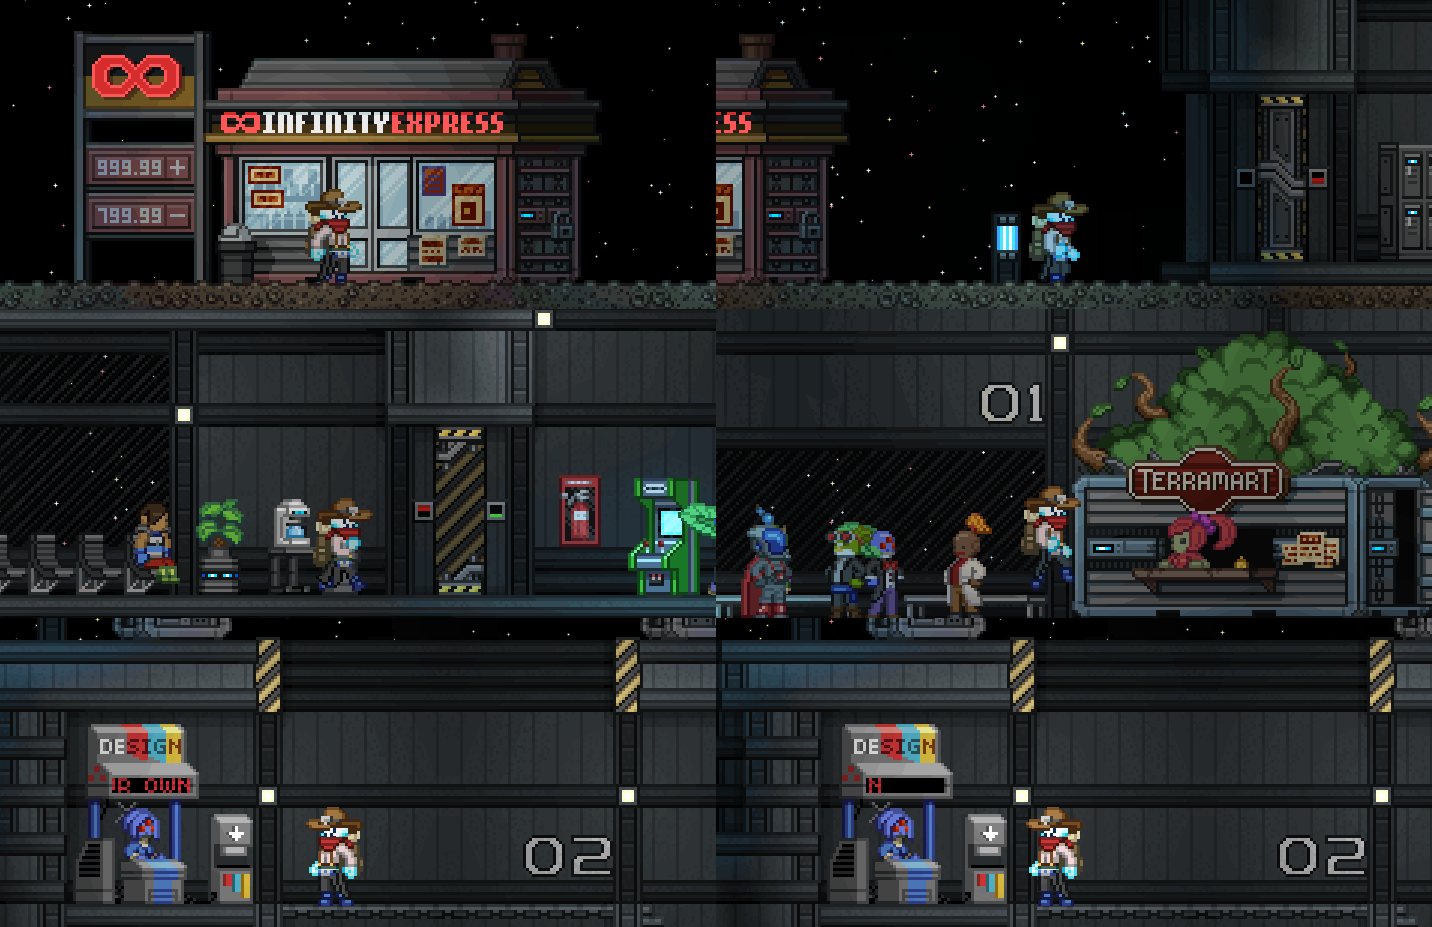
Have you, like many travelers, wandered into the outpost to discover the strange "Design" Booth and wondered what it does?
Well have no fear, weary star citizen! This tutorial will guide you through the process of making your first animated sign with the Elegantly Automatic Sign Engineering Lithographer or E.A.S.E.L.!
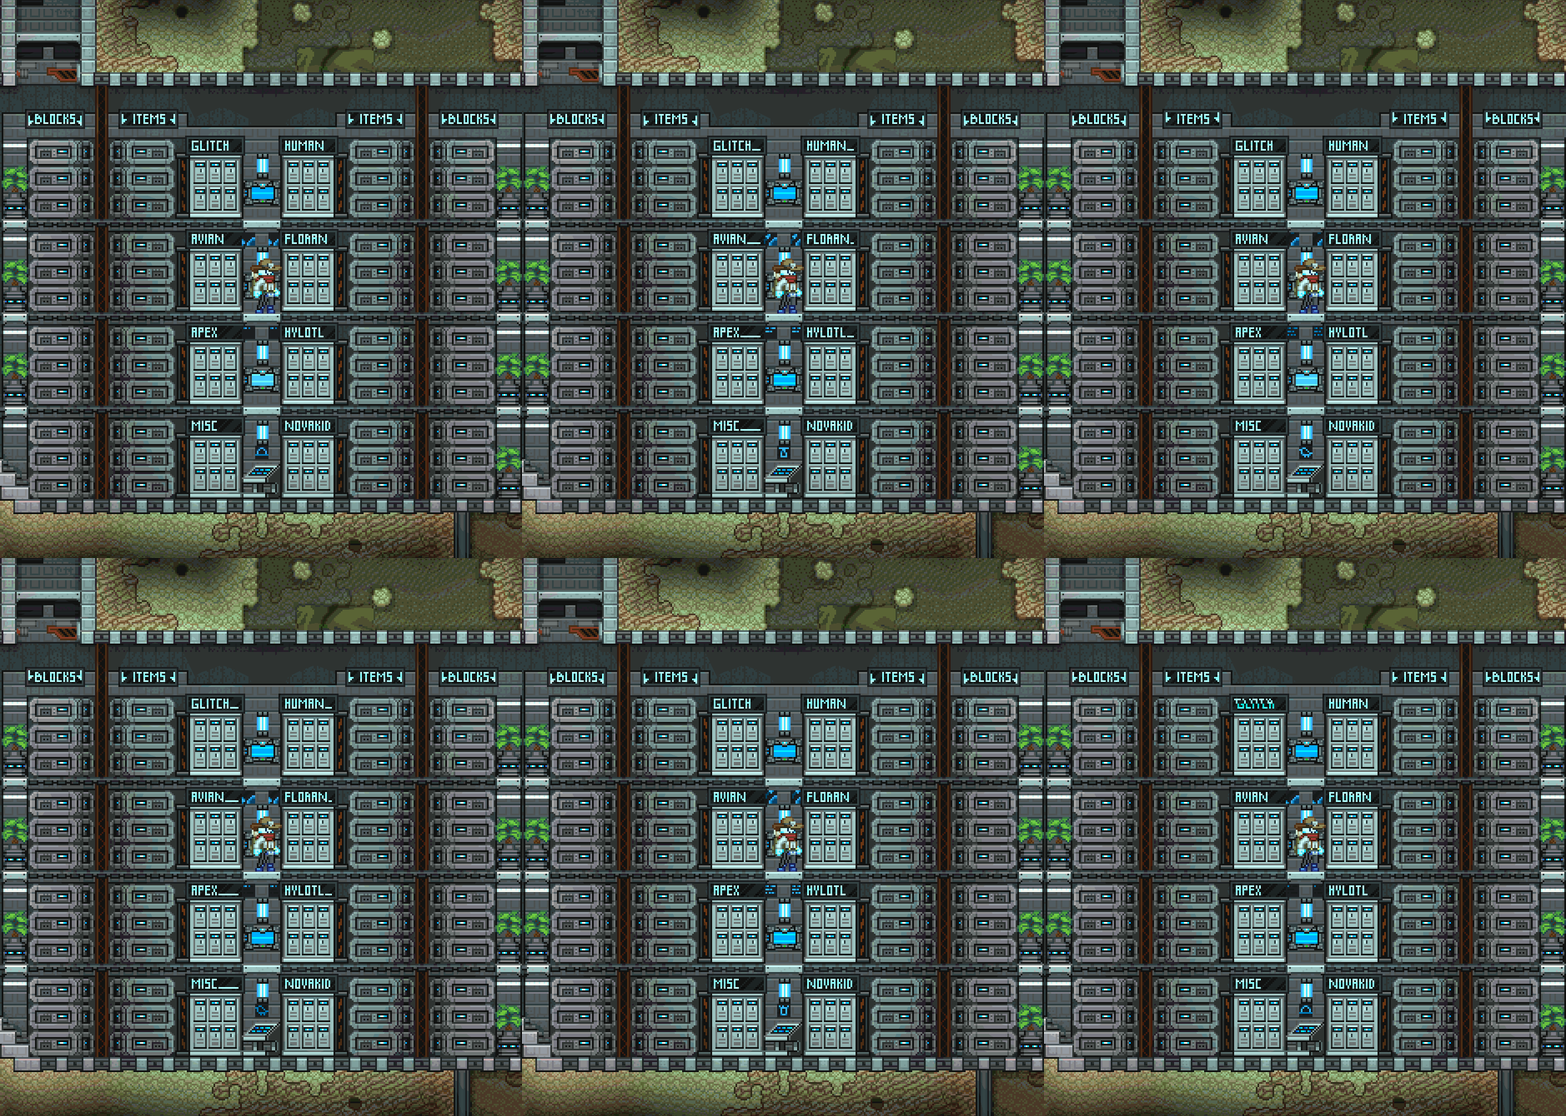
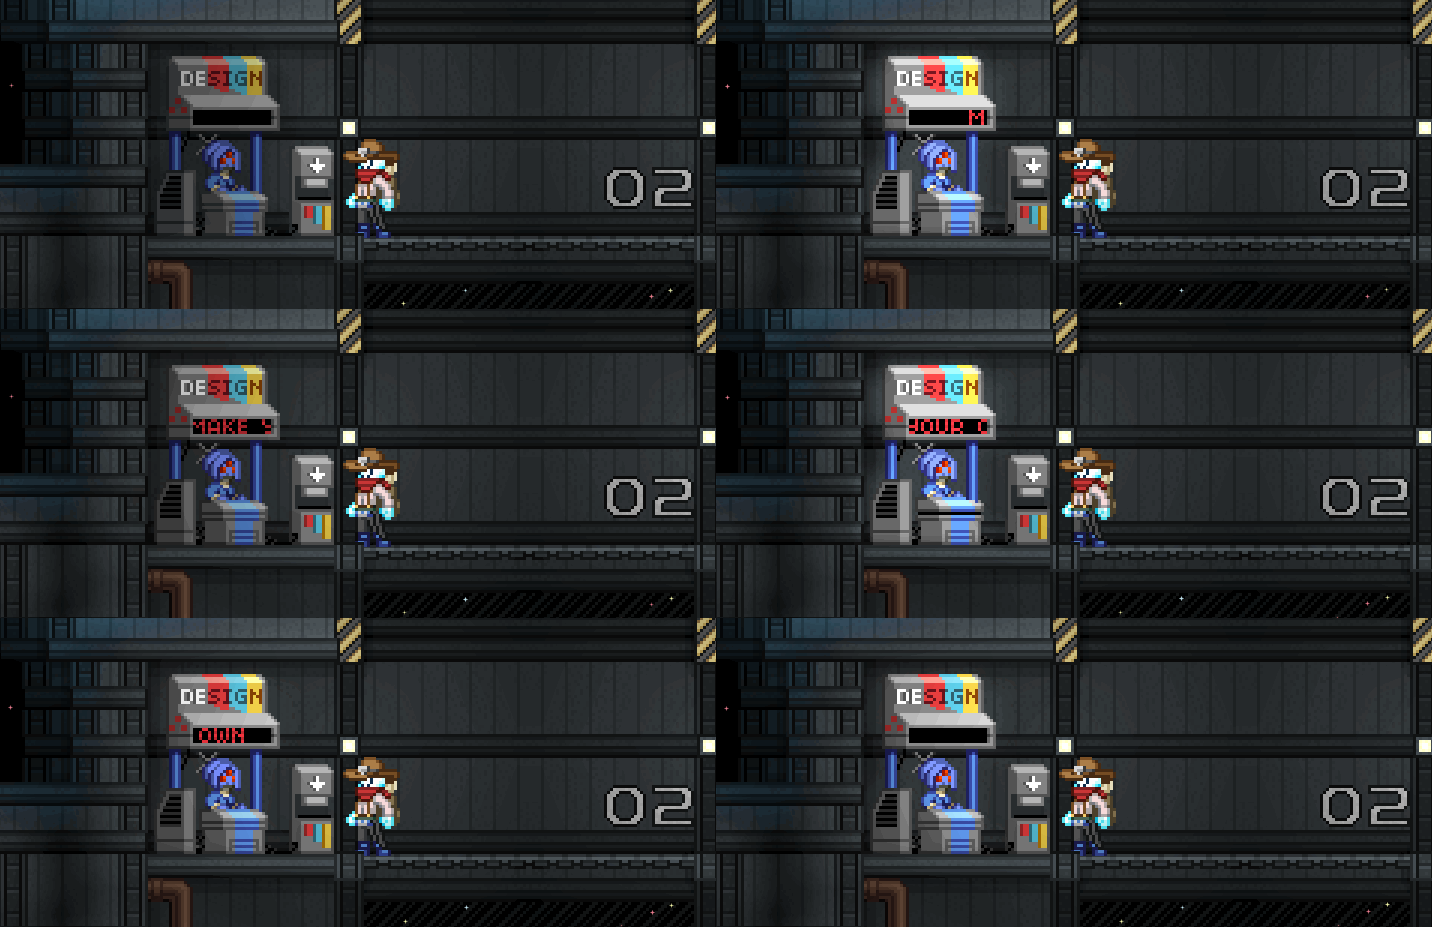
With a bit of work you will be organizing your masses of unsorted Glitch furniture and Apex lab equipment like this:
Now that you know where the Sign Maker is, it's time to approach the vendor and start making your first sign!
You might think there is only one piece of equipment here but nope, there are two interactable things. In the next pictures, I will highlight both.
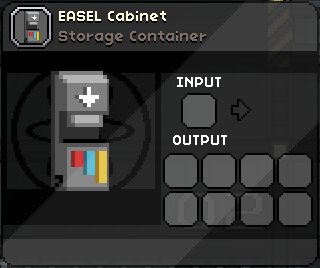
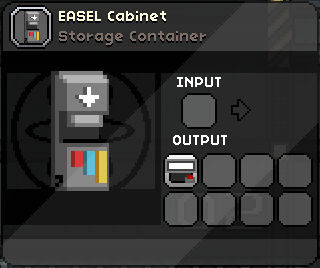
This is the EASEL Cabinet and below is the dialog window that pops up when you activate it:
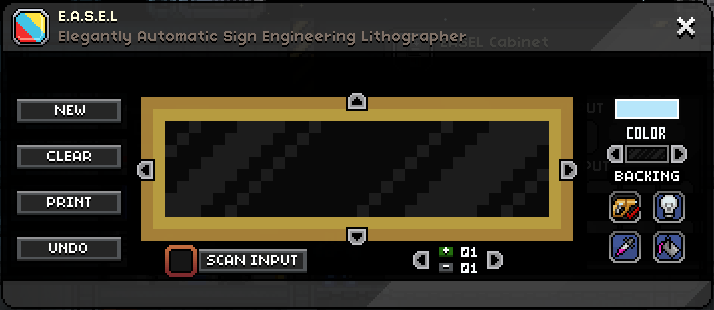
Next, we have the EASEL itself, where the magic™ happens.
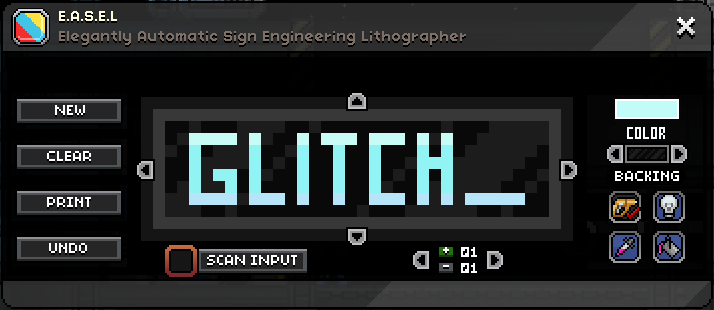
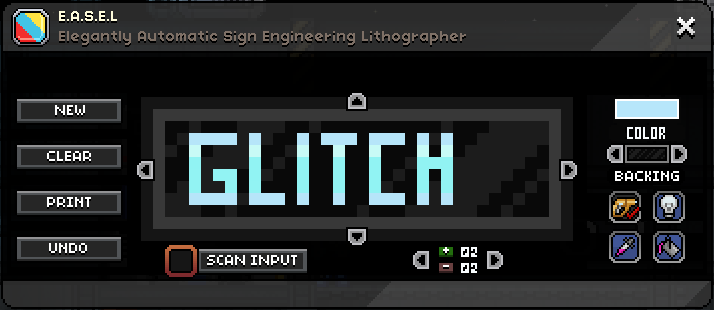
The menu for EASEL is this:
From here you can modify your sign and each frame of the animation the sign will have.
Making your First Sign
Borders
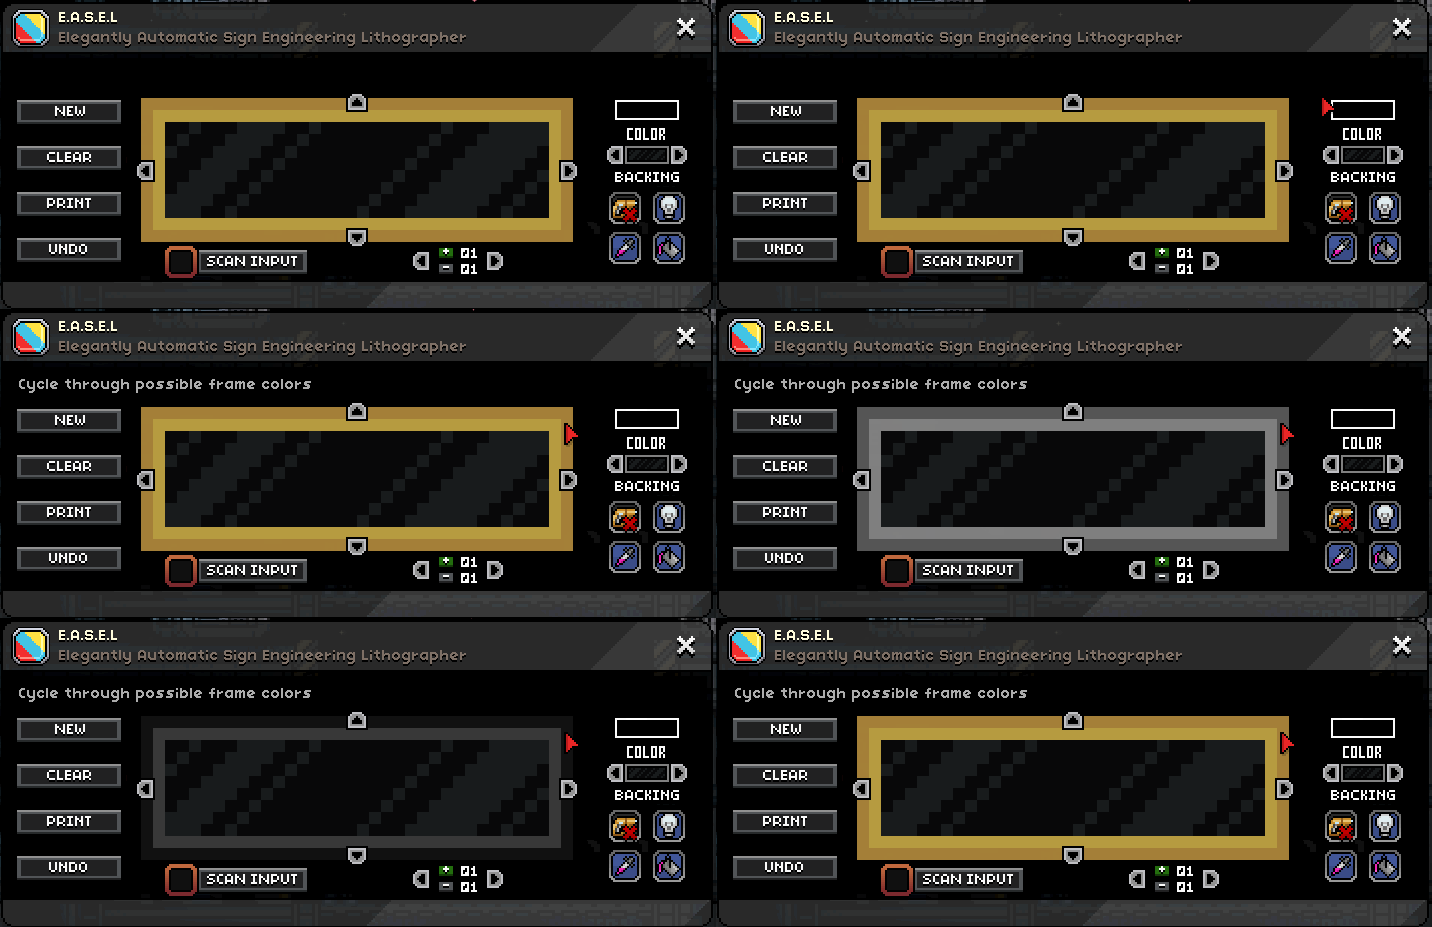
One of the simplest things you can do to make your sign stand out (or blend in) is to change the border to a color that fits your intended scheme. You are only able to change the border for the entire sign and it must remain that way throughout all frames of the animation (But you can change it at any time without worrying about messing up your animation.)
Backings
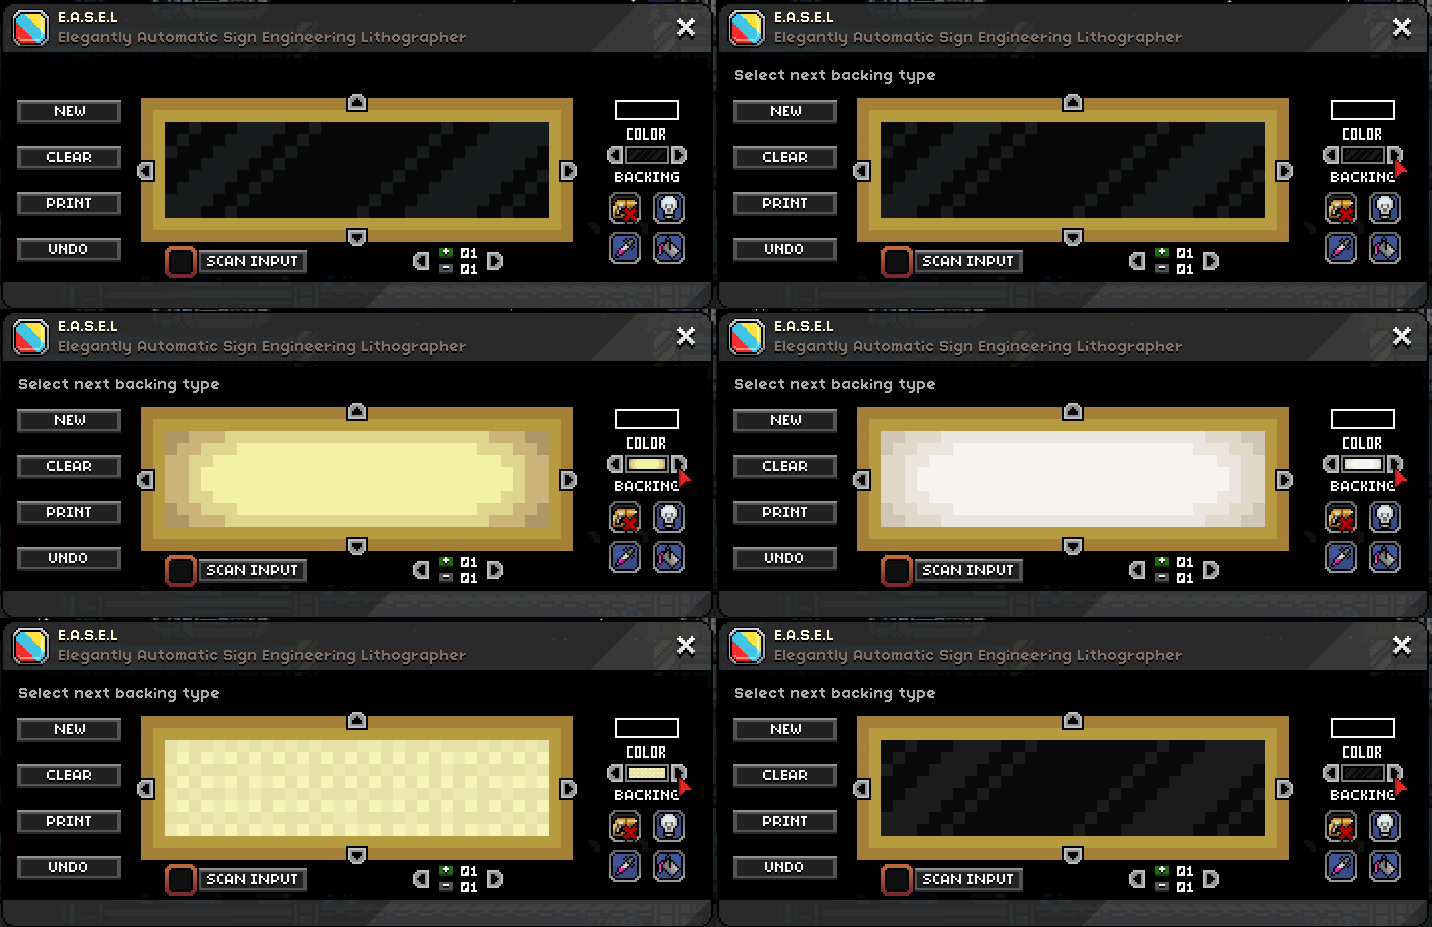
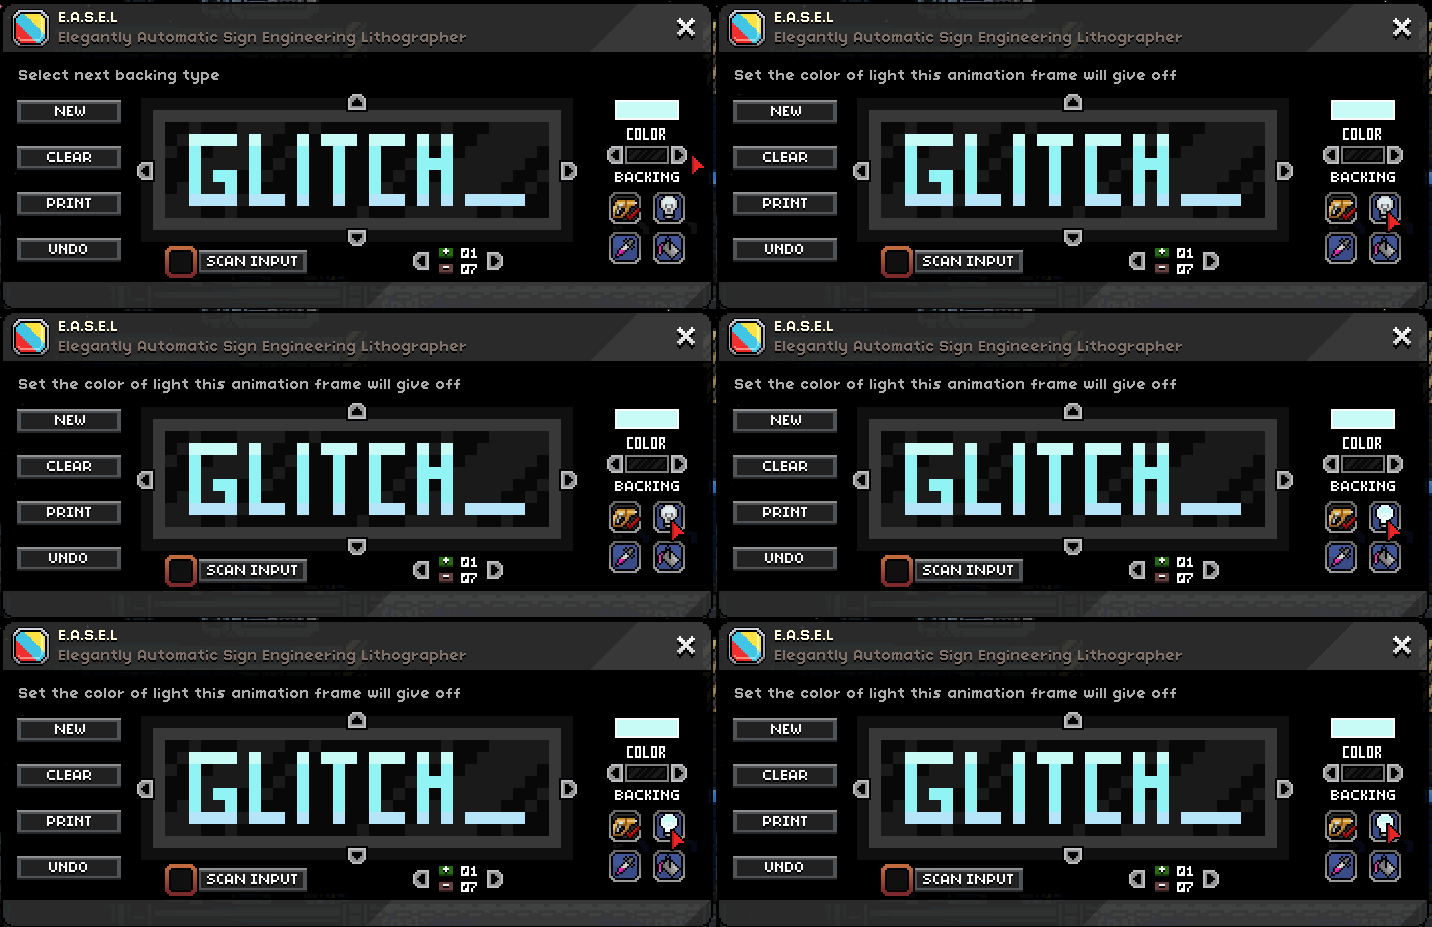
Another important thing to consider is the backing the frame will have. There are currently 6 backing types which go with different themes. The black glass goes with a more modern look while the yellow old paper color would be good for a Novakid wild west SALOON sign, for instance. You could just cover up the backing and make your own if you want to get that involved, though.
Colors
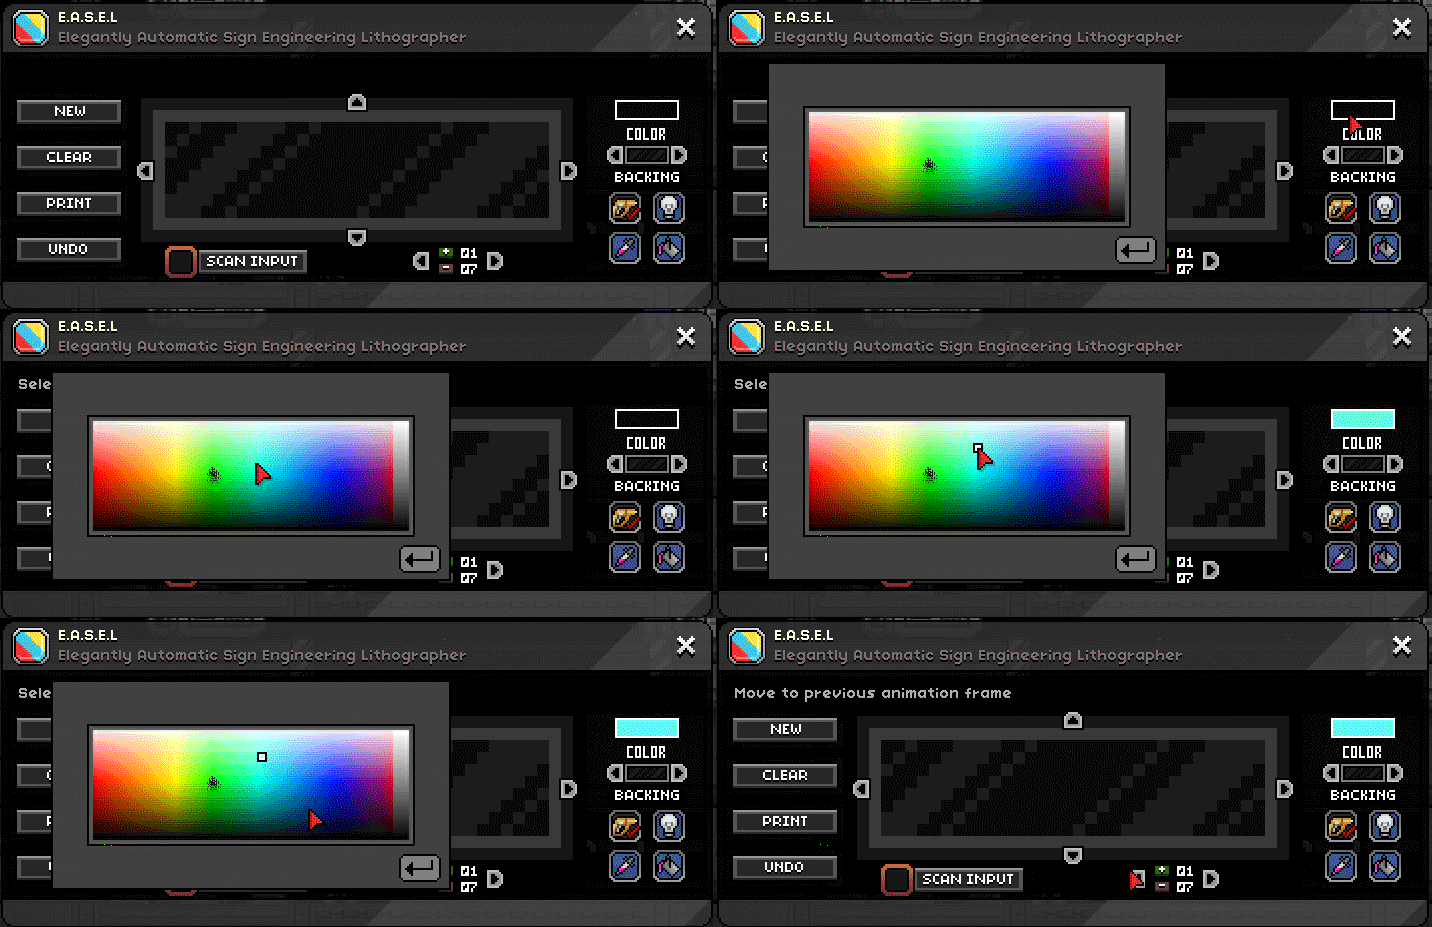
The next thing to do is to pick a color you want to draw with. You have a selection of a full color box to choose from. Since we are going to reproduce the Glitched Glitch sign from the storage room above, let's go with this cyan blue color.
Drawing and Editing
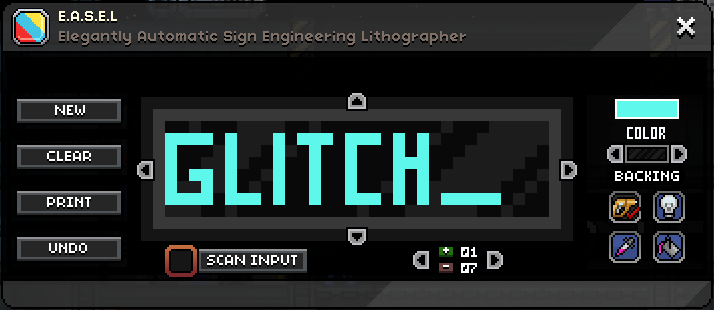
Now that we have picked a color, simply start drawing. In this example, I have drawn the initial Glitch text.
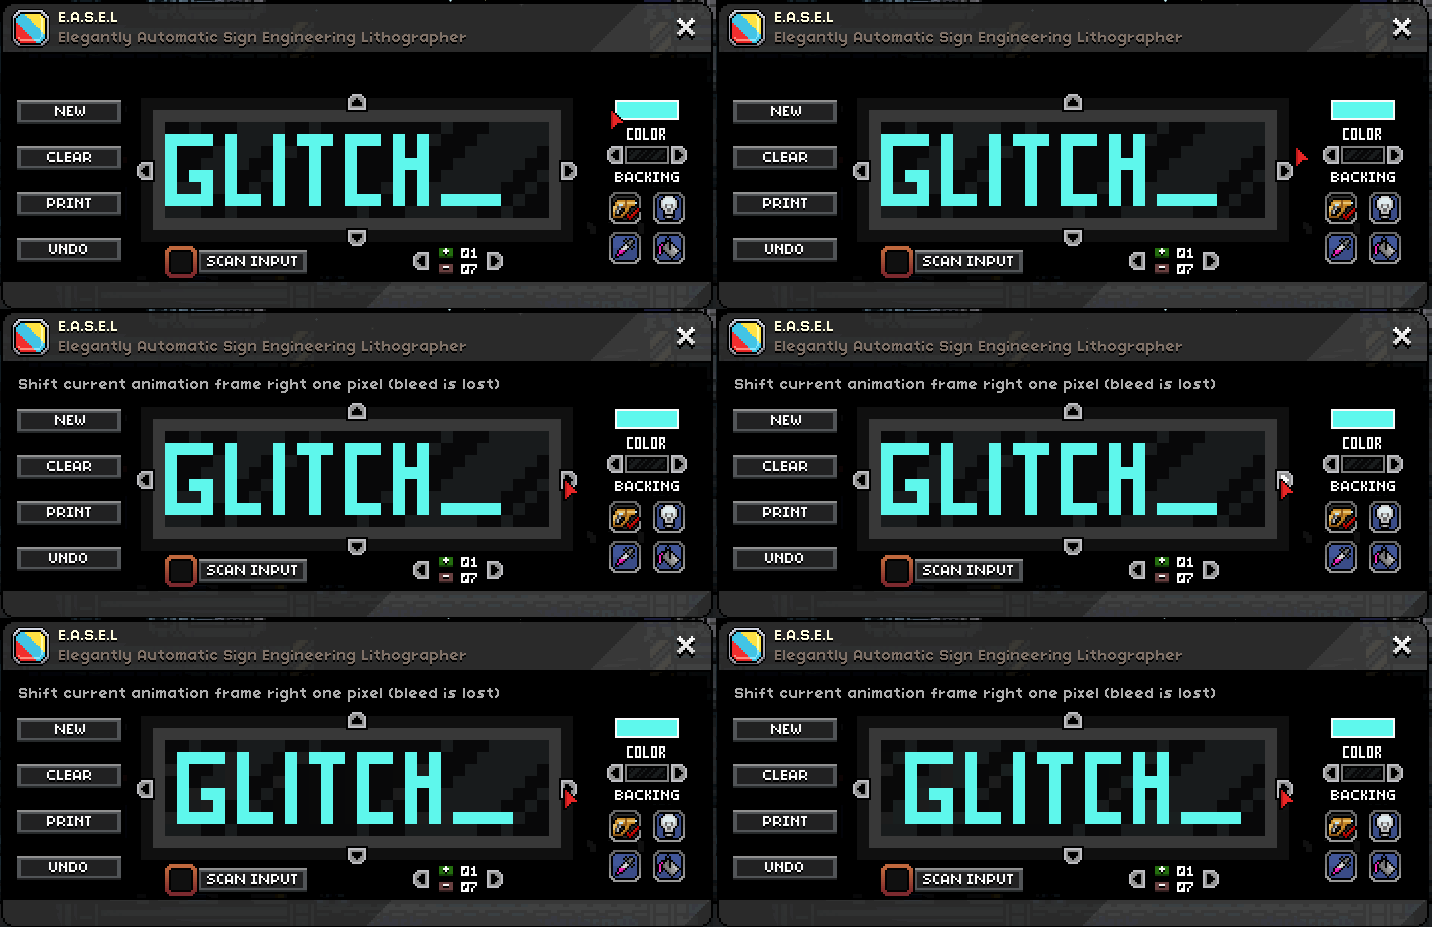
Whoops! Looks like I didn't think about centering the drawing... do I have to redraw it all again?! Not to worry! Simply click one of the arrow buttons on the side to shift the whole drawing over by one pixel, as shown below.
Using the skills you have learned above, go ahead and reproduce the rest of the first frame of our sign.
Notice that there are three colors in the drawing: The main cyan color, a grayer color at the bottom to give it variance, and a brighter white at the top (Which will move downward giving the appearance of a blip on the projection.)
Giving a Sign Light
If you want your sign to be lit, you need to tell EASEL so by clicking the lightbulb button. This bulb will change to the color you are currently using, thus that frame will give off that color. You can actually have different frames with DIFFERENT LIGHT COLOR - simply change the light color on each frame!
Adding Frames to an Animation
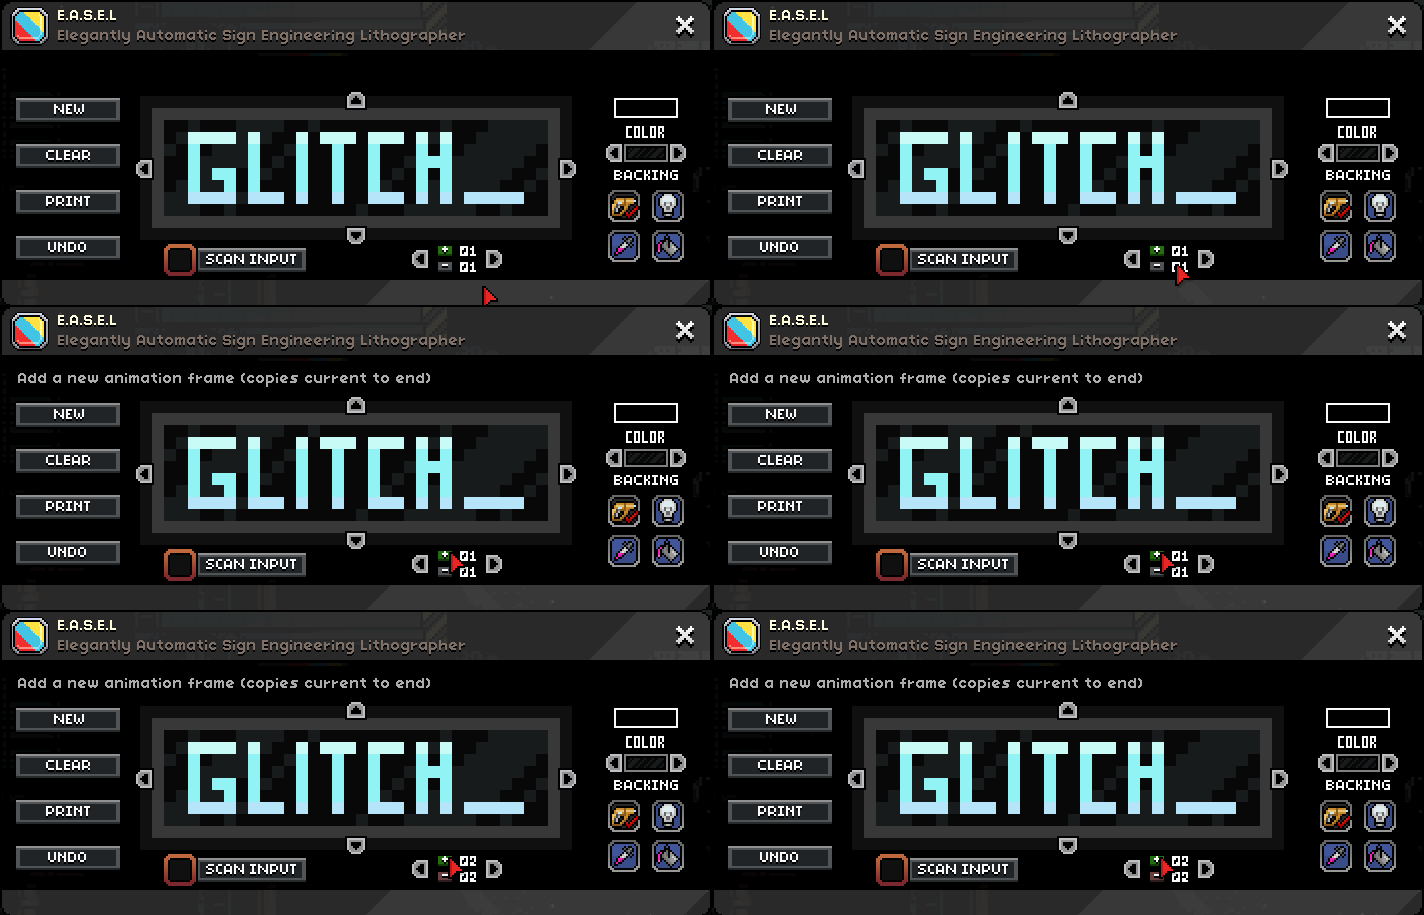
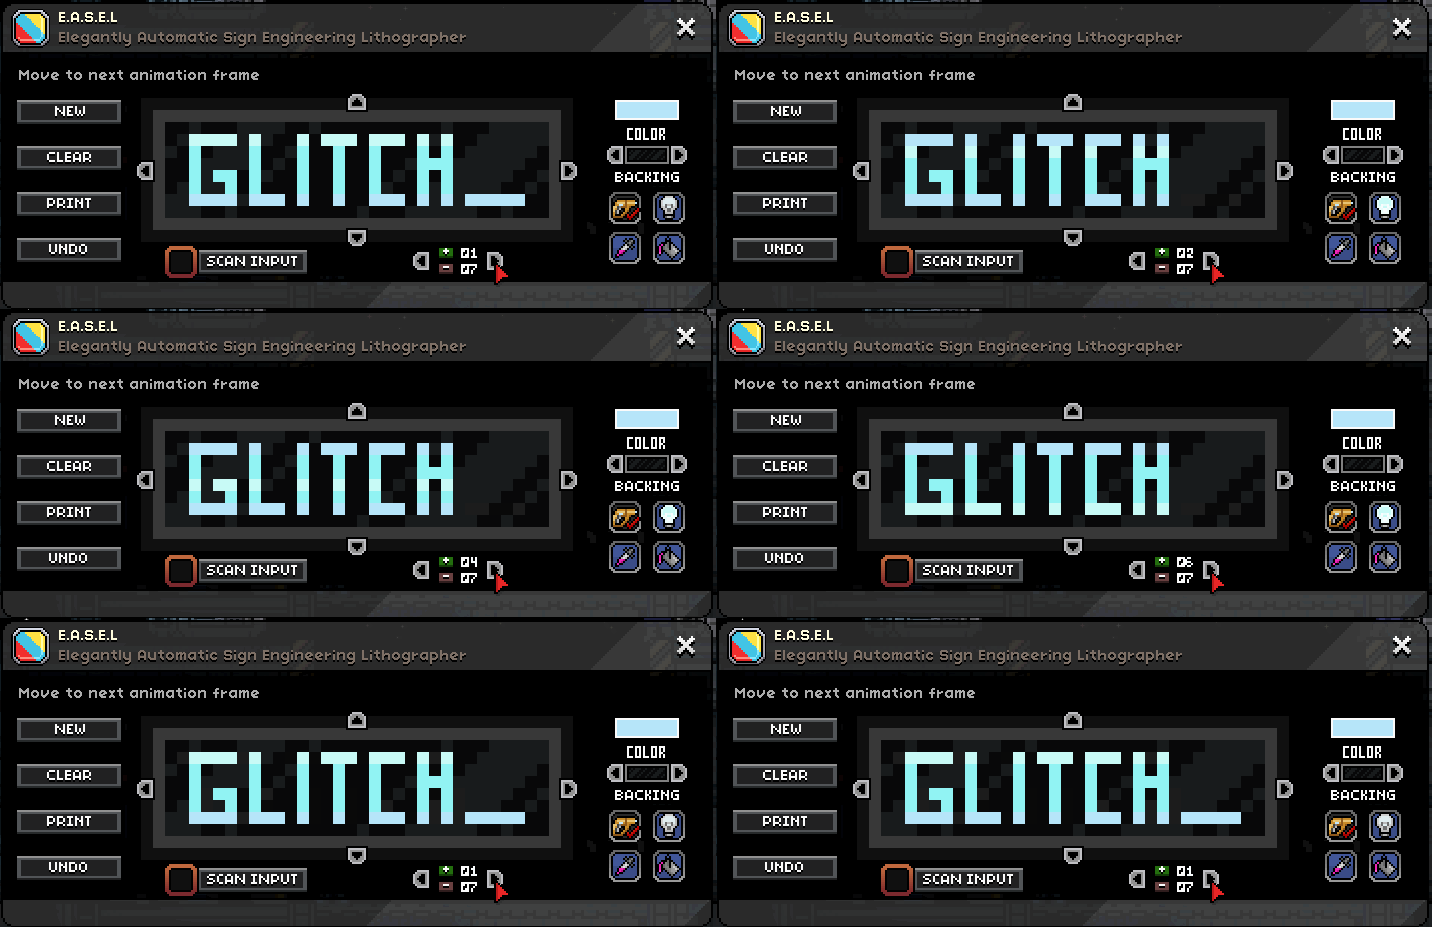
Next you should add your second frame using the little green plus button. It immediately takes you to the second frame - which is a duplicate of the first - and you can start adjusting it. If you want to go back to your first frame, just click the arrows next to the frame count. Apparently the max frames you can have is 99, but it would take a lot of work to do that many!
Using the Eyedropper/Color Picker
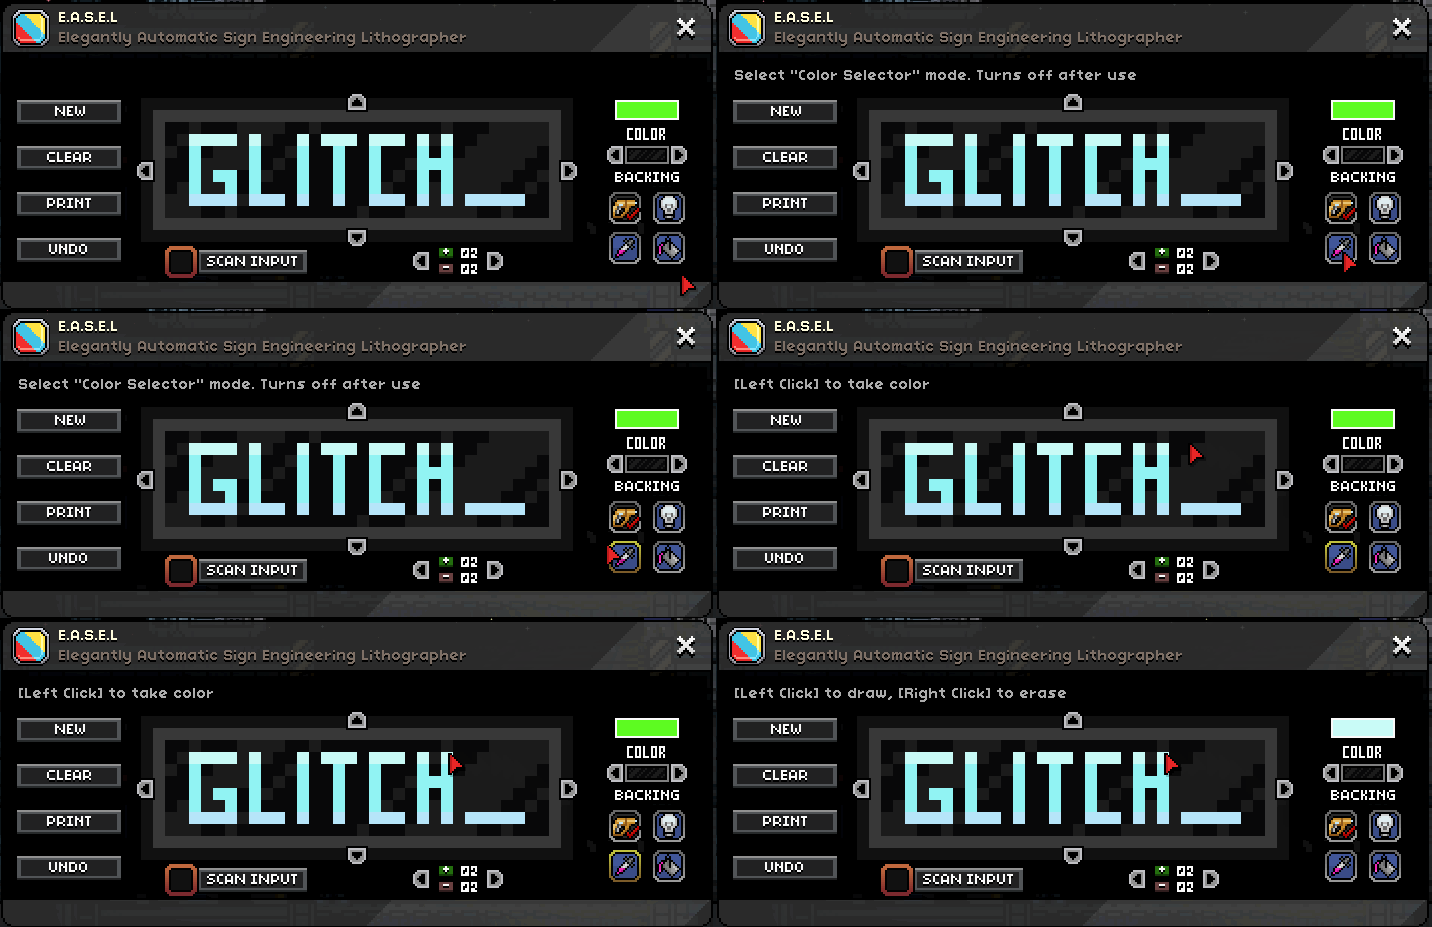
Now that we're on frame #2, lets pick the whitish color to redraw it in the next row of pixels. This is done by clicking the eyedropper, just like any other image editing program. You can also use the paint bucket to fill an area with a single color, but I don't use it in this sign.
Finishing your Animation
This is our Frame #2. Notice that I've moved down the whitish line and gotten rid of the extra line to the right to make it look like its a blinking text line cursor.
From here you're hopefully starting to get the idea. So, here are all 7 frames of my Glitched Glitch sign.
Wiring your Sign
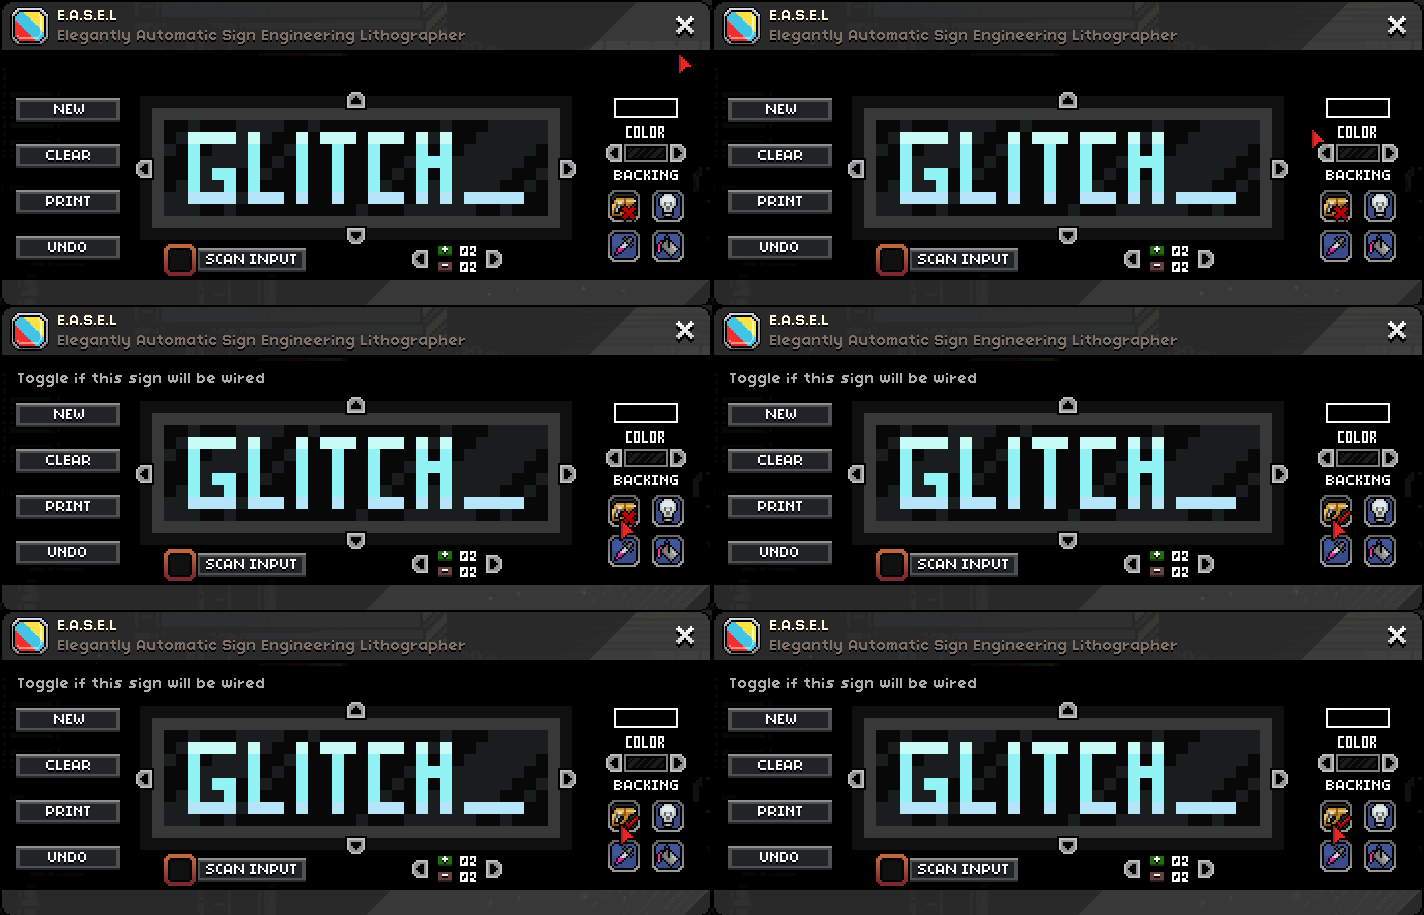
One last factor to consider is whether or not the sign will be wired in order to play it's animation and be lit. If you want it to be wired, simply click the wiring tool button.
Printing
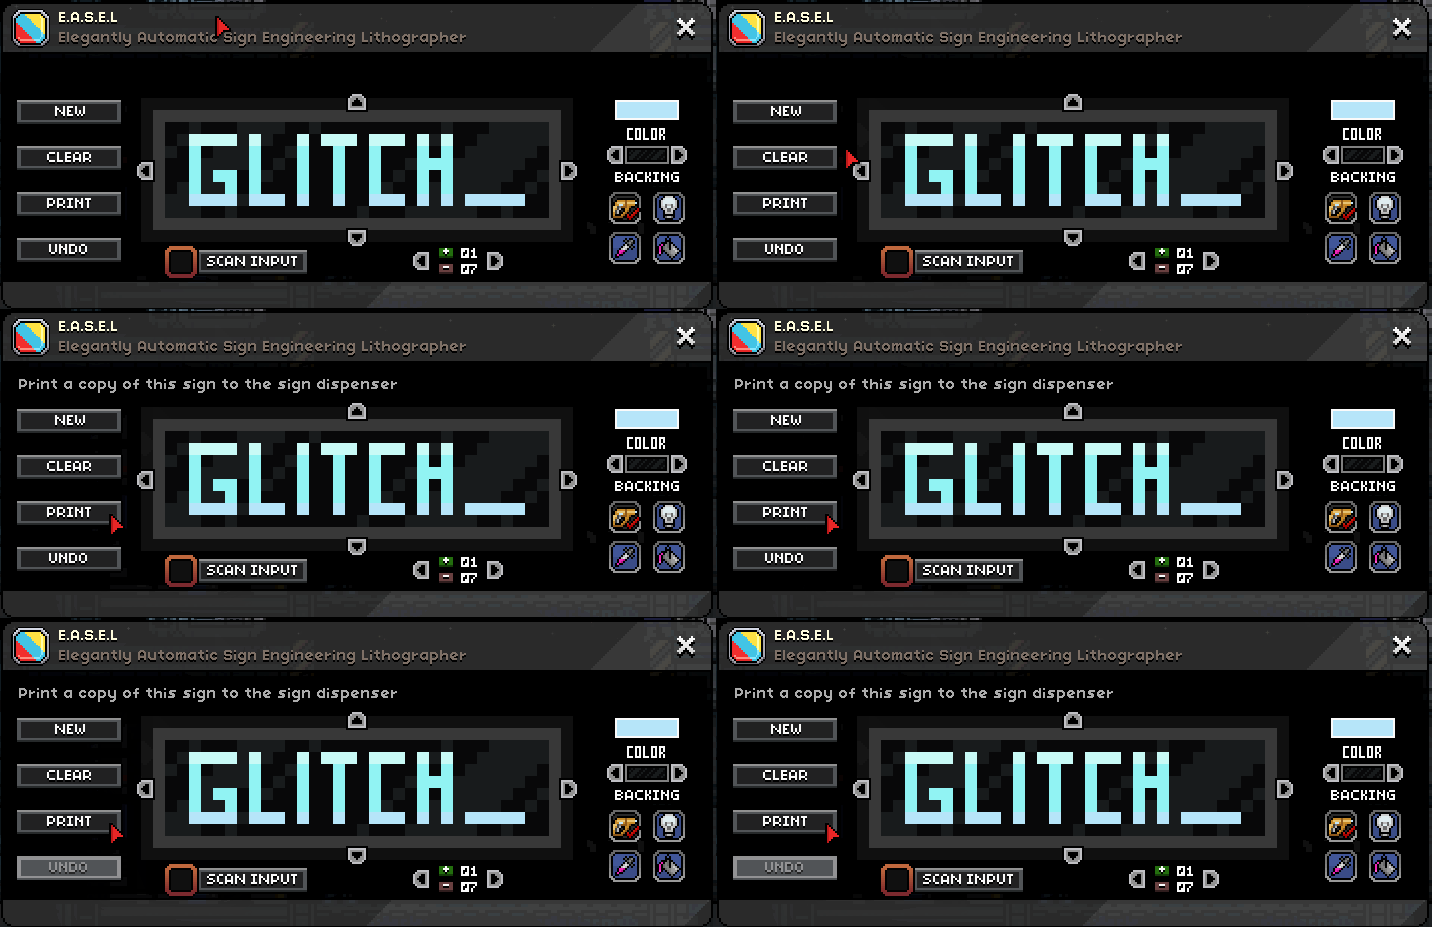
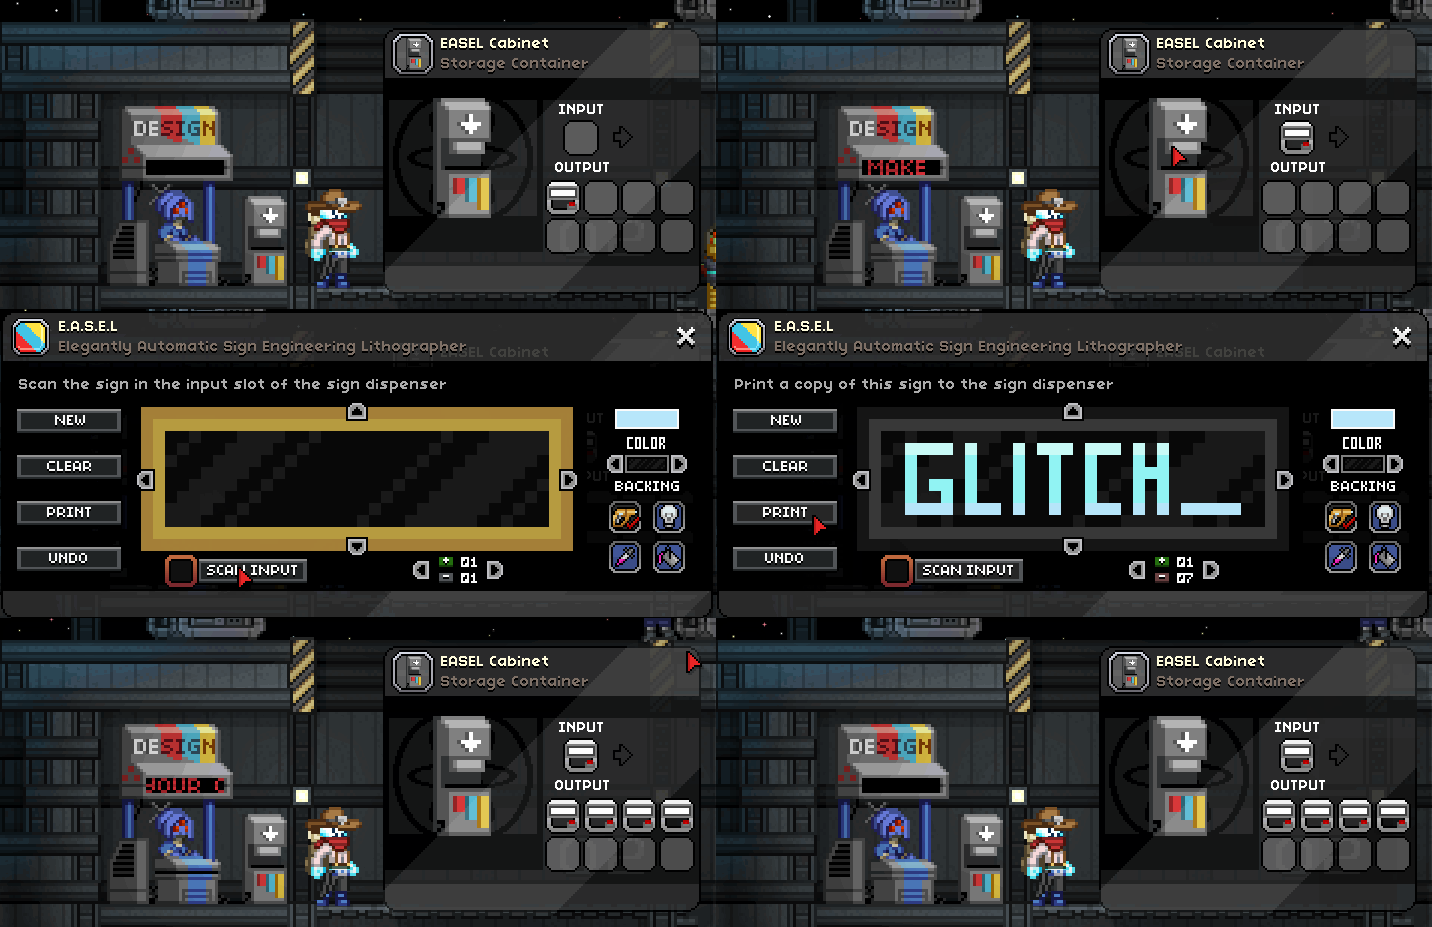
Now just click "PRINT"! You can click this as many times as you want and get as many signs as you want!
Check the EASEL Cabinet to see if your sign was spit out by the machine. Don't worry if something went wrong, your design is still present on the EASEL itself.
Duplicating Signs
Now, say you came back home and something wasn't right with your sign or you wanted to make more. No problem! Just pop your sign into the input slot of the EASEL Cabinet, then click "Scan Input" on the EASEL menu. Your animation and everything on the sign will be identical to what you put in there.
Placing Signs
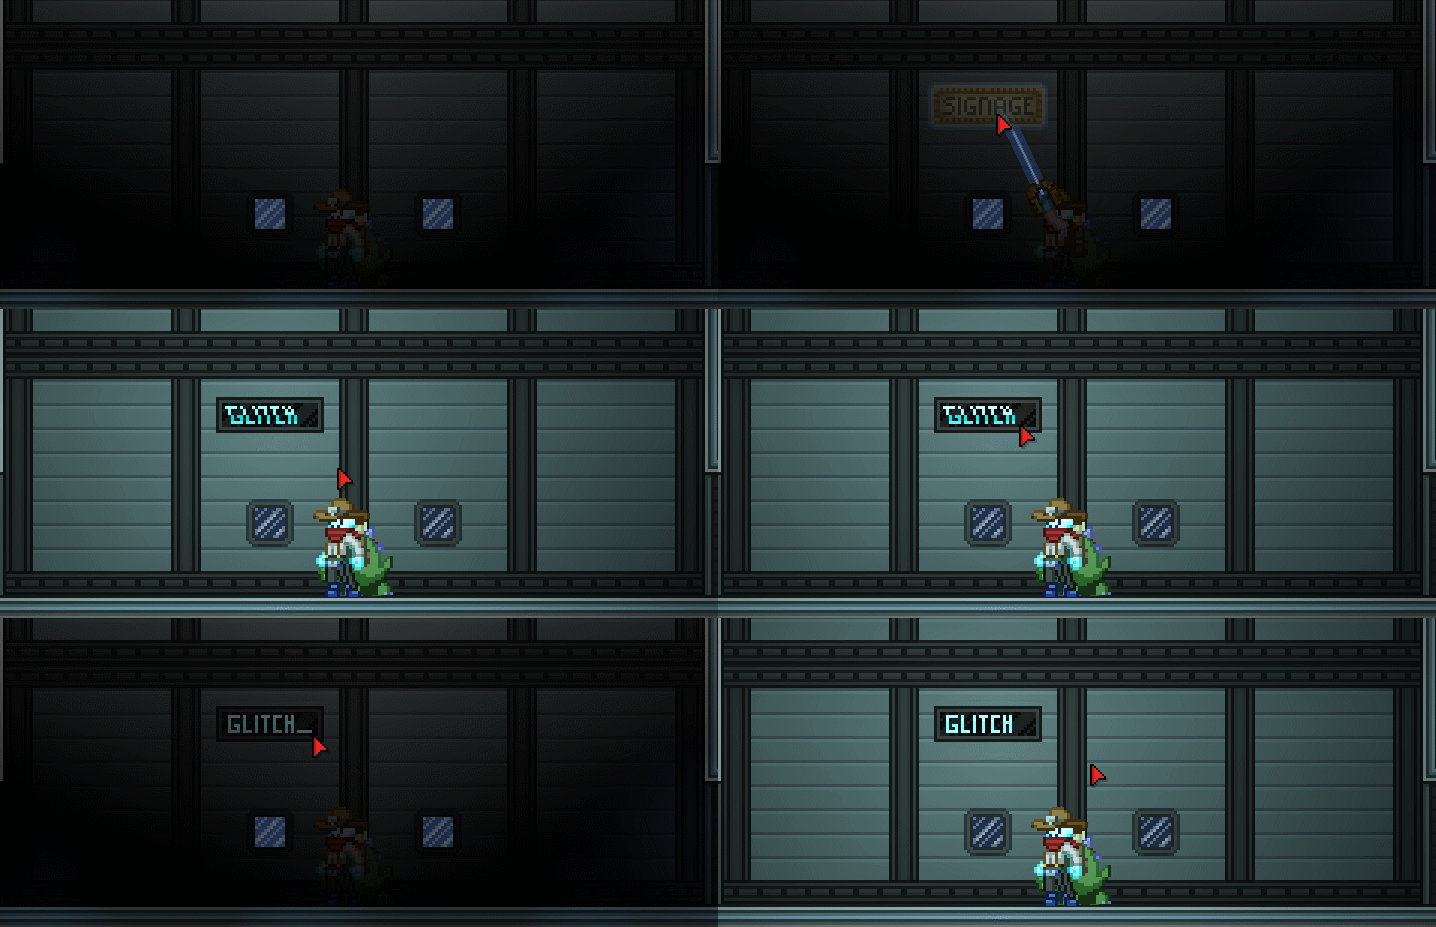
Yay our sign is done! Too bad it has a glitch in it... Annoyed. Why must we glitch always be stereotyped like this...
But wait, there's more!
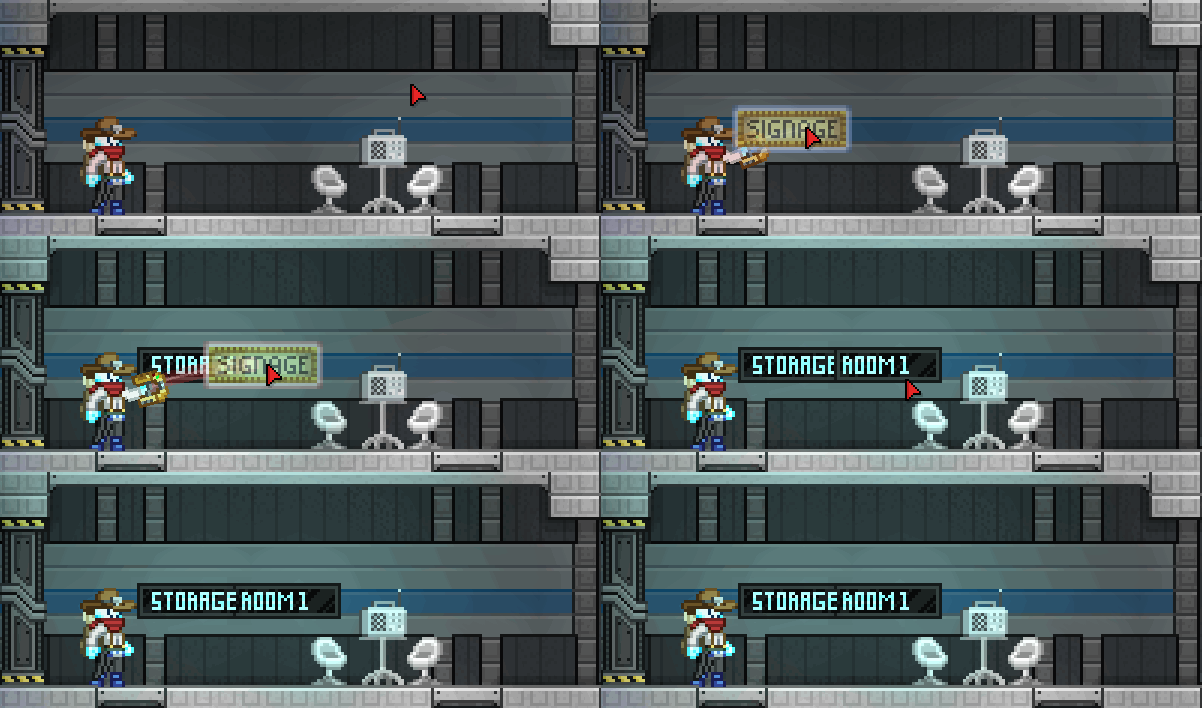
You can also place frames side-by-side to form seamless longer signs! Initially, the border between the signs will still be there but it will pop away quickly.
The same goes for vertical signs!

