Modding:Tiled/Example Mission
This article or section is currently in the process of an expansion or major restructuring.
You are welcome to assist in its construction by editing it as well.
Links don't work and I can't find the files they had, and tutorial was outdated. I'm fixing it. If you want the old version you can find it here: [1]
Last edited by Toasterpanic on 2023-07-06 16:35:43.
| ||||
|---|---|---|---|---|
| ||||
Contents
Example Mission
Missions are the simplest type of Tiled-based content to integrate into Starbound, so for brevity our first example Tiled project will be creating a mission.
The Mod
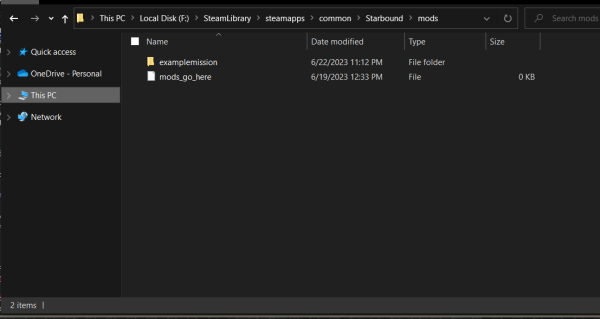
Download this archive at https:/ /drive.google.com/file/d/1SR9Hjp9gA6PWGEtE5VEIissPS0tIZDS1/view?usp=sharing (remove the space) and extract it into your Starbound/mods/ directory. You should end up with this:
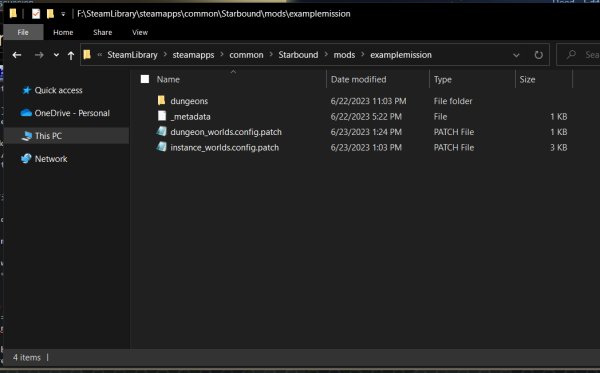
And inside that directory:
You can warp to the mission by first enabling admin in the chatbox:
| /admin |
And then entering this command:
| /warp instanceworld:examplemission |
To enable a mission through gameplay, you’ll need a .aimission file (see packed/ai/mission1.aimission for an example), and then you’ll need to enable the mission through a the player.enableMission() callback in a quest’s Lua script (see outpostMission1.questtemplate and quests/scripts/main.lua).
With admin on, you'll be able to teleport back to your ship at any time.
Let's run through the components of this mod:
- _metadata
- This is the standard boilerplate all mods have to contain to identify themselves to Starbound.
- instance_worlds.config.patch and dungeon_worlds.config.patch
- These are JSON patches adding configuration that defines the world for the mission. They set the biome, music, world size, and parallaxes.
- dungeons/examplemission/examplemission.dungeon
- Contains configuration that you probably won’t need to change much for missions. In missions, the only important part is the line that points to the .json file.
- dungeons/examplemission/examplemission.json
- This is a Tiled map.
Go ahead and open up examplemission.json in Tiled. If you've not done it already, instructions for setting up Tiled for use with Starbound are here.
Tiles
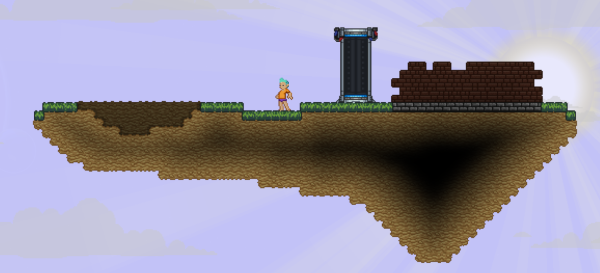
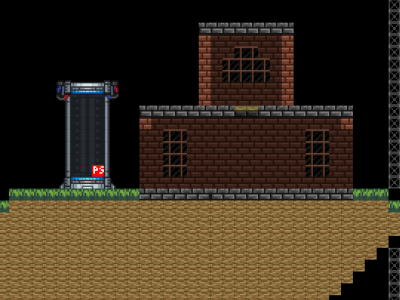
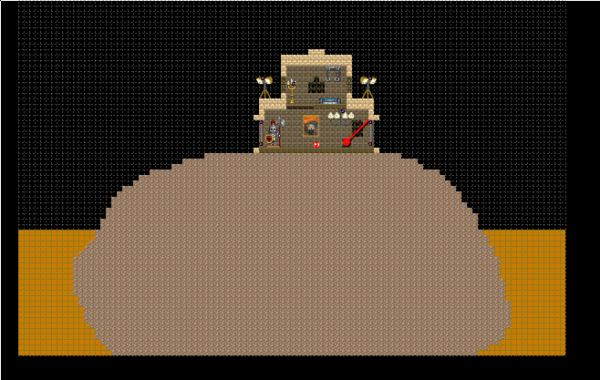
Right now, this map is pretty boring, consisting of a small floating island, a shallow pit, and a partially constructed building. Let's change that.
First, let’s finish that building. Select the ‘back’ layer in the layers panel. There are two types of layers: tile layers and object layers. Tile layers are for materials, liquids and some of the tiles in the ‘miscellaneous’ tileset. Everything else goes into object layers.
Choose the Brush Stamp tool (![]() ), and then you can either:
), and then you can either:
- Select the ‘brickmaterial’ tile from the ‘materials’ tileset (Ctrl - Mouse Wheel zooms the tileset palette if it’s too small to see). The properties panel displays the names of the tiles you select. If the window is too cramped to see both the properties panel and the tileset panel, you can drag out one or both into a separate window.
- Or, a useful trick is: if the tile you want to use is already in use in the map, you can right click the tile in the map view to select it. This is like the eyedropper tool in Photoshop; right-clicking a tile picks it up into your brush, and afterwards you’ll be painting with that tile.
Now finish off that background wall. Clicking and dragging in the map view will paint the selected tile onto the current layer. You can use the eyedropper trick on the foreground tiles as well if you switch to the front layer. Just make sure you switch back into the right layer afterwards, before painting again.
Experiment with the other tools as well.
Tools
| Bucket Fill Tool (F) | |
| Eraser (E) | |
| Rectangular Select (R) | |
| Magic Wand (W) | |
| Select Same Tile (S) |
If you’ve done much in Photoshop or GIMP before, you can probably tell what most of these are going to do. These tools, and the Brush Stamp Tool (B) can only be used on tile layers.
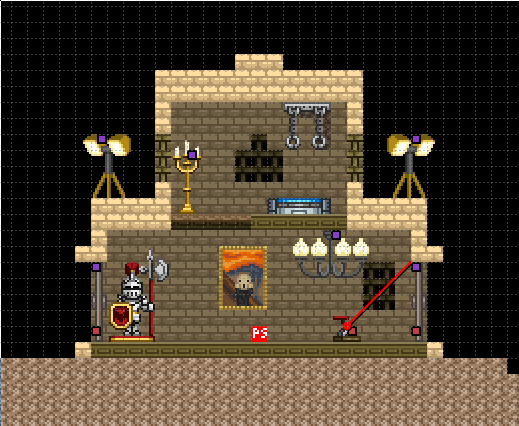
By now, you’re probably wondering what the red tile in the teleporter in the ‘anchors’ layer is for. That’s the special Player Start marker tile from the miscellaneous tileset indicating that the player should start at that position in the mission. It’s invisible in-game.
There are many other useful tiles in the miscellaneous tileset, including invisible walls (the gray X blocks), placement anchors, connectors for dungeons, and biome-related brushes, but you won’t need them for most missions.
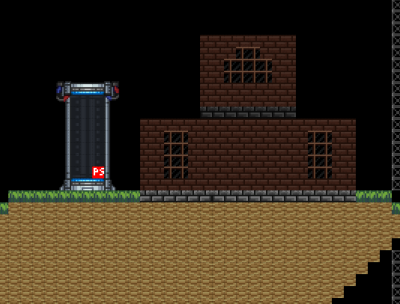
Switch to the front layer and let’s add some foreground walls to the building.
Most of the tiles I added here in the materials tileset. The wooden platform in between the two floors are platforms from the supports tileset.
It’s advisable to check your mission still works by loading it in game occasionally while you’re working on it. You’ll immediately find out if you’ve accidentally erased the Player Start marker, or put an object or tile on the wrong layer, so save and go do that now.
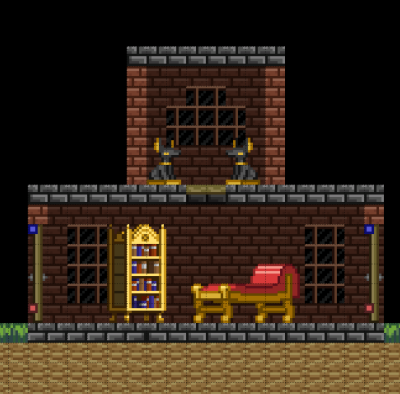
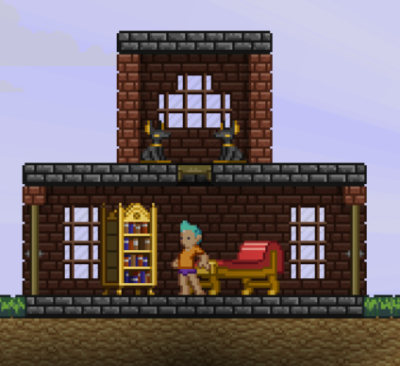
We can also add some doors for the building, decorations and an exit teleporter. All these things are objects.
Objects
Let’s switch to the ‘objects’ layer in the Layers panel. Objects are stored in external tilesets that will need to be added to add more things to your map. To do this, go to Map > Add External Tileset. Then, navigate to /Starbound/assets/tilesets/packed/, and select a .json file inside. If you don't see any .json files, make sure "Json tileset files" is the selected format in the open file dialog.
With most objects you can press the X key while they’re selected in the editor to flip them horizontally. Tiled lets you do a lot of other things with objects as well, such as vertical flipping, rotation and scaling, but Starbound does not support this.
Once you've loaded a tileset and picked an object you like, select the Insert Tile tool (I) and click on the map view to place the object. Don’t worry if it’s in the wrong place - you can use the Select Objects (S) tool to select the object and move it somewhere else.
Starbound has some rules for object placement that Tiled doesn’t know about. One example is that objects aren’t allowed to overlap. There’s no way to tell if you’ve made a mistake within Tiled, so save your map again, start up Starbound, warp to your mission and make sure your objects placed OK.
Wiring
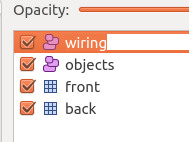
You can also wire up puzzles and traps in Tiled! Wiring is performed in object layers as well, but it’s usually best to put it in its own object layer so that you can hide wiring independently of other objects. Create a new object layer in the Layers panel (![]() ).
).
To hide the wiring all you’ll need to do is uncheck the checkbox to the left of the layer’s name.
Wiring nodes are displayed over objects in the editor as red and purple squares. Red nodes are output nodes, and purple nodes are input nodes. To connect two nodes, choose the Insert Polyline (L) tool (![]() ), then left-click the top-left corner of one of the nodes, left-click the top-left corner of the other and then right-click to end the line.
), then left-click the top-left corner of one of the nodes, left-click the top-left corner of the other and then right-click to end the line.
Note that if you’ve flipped one of the objects you want to connect with the X key, the wiring nodes will appear in the wrong place in the editor. Pay attention to where the nodes are before flipping the object.
Here, I’ve wired the door to a medievalswitchlever from the tileset objects-by-category/wire. As well as switches, that tileset also contains logic gates, moving platforms and turrets.
Liquids
Liquids are painted into the map just like materials. You can find them in the liquids tileset.
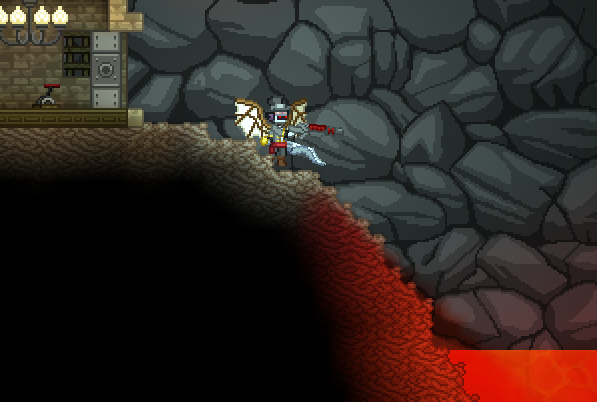
Let’s surround our brain material island with pools of lava. Select the ‘lava_source’ tile from the liquids tileset. There’s also a plain lava tile in the liquids tileset, but since we have no background wall behind where the lava is going it would drain away. The lava_source tile is endless and won’t drain through the background.
Select the ‘front’ layer and then paint the endless lava around the brain.
What a lovely glow.
Monsters
There don’t currently exist any tilesets for placing monsters in the world, so for this, we drop down to configuring them in the Properties panel.
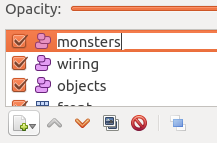
Start by creating a new object layer for our monsters, and then switch to it.
Now choose the Insert Rectangle tool (![]() ). Starbound treats the rectangles this creates specially. On their own, rectangles do not change the map in-game at all. But by setting properties on them with the Properties panel, you can perform operations on each tile the rectangle covers. These operations can do anything you’ve seen in any dungeon, microdungeon or mission in Starbound.
). Starbound treats the rectangles this creates specially. On their own, rectangles do not change the map in-game at all. But by setting properties on them with the Properties panel, you can perform operations on each tile the rectangle covers. These operations can do anything you’ve seen in any dungeon, microdungeon or mission in Starbound.
There are a lot of things you can do with them that can’t be covered here. A good way to find out what you can use them for is to open up the Tiled maps in the unpacked assets and inspect the any rectangles in them with the Properties panel.
Drag out a 2x1 rectangle somewhere on your map, and then in the Properties panel, click Add Property (![]() ). When it asks for the property name, enter “monster”, in lower case, without the quotes. Put “moontant” as the value (again, without quotes), then save and load the mission up in Starbound.
). When it asks for the property name, enter “monster”, in lower case, without the quotes. Put “moontant” as the value (again, without quotes), then save and load the mission up in Starbound.
“Moontant” is a type of monster defined in a .monstertype file in the assets. So what this will do is spawn one moontant monster at each tile the rectangle covers. If the rectangle is 2x1, it will spawn two monsters.
Be aware that it will spawn them with their heads at the position of the tiles under the rectangle, so if you put it on the ground, they’ll be partially buried. Lift the rectangle a few tiles up with the Select Objects (![]() ) tool if you put it in the wrong place.
) tool if you put it in the wrong place.
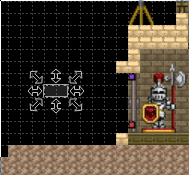
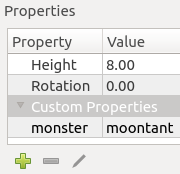
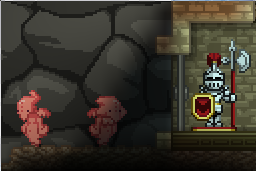
The other properties you can set on monsters are:
- seed - either “stable” or a number, which sets the monster’s random seed (if it’s a generated monster type like smallbiped).
- parameters - a JSON object with more configuration values. This is the same as the parameters argument to the world.spawnMonster() Lua callback and the /spawnmonster command. An example would be:
| { "level" : 2, "aggressive" : true } |
NPCs
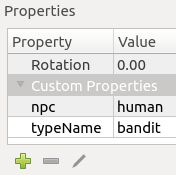
NPCs are spawned in a similar way to monsters, but instead of defining the “monster” property, you set both “npc” and “typeName” (case sensitive).
- npc - the species name of the NPC, e.g. “human”.
- typeName - defines the the .npctype configuration to use, e.g. “bandit”.
NPCs support the “seed” and “parameters” properties as well as monsters.
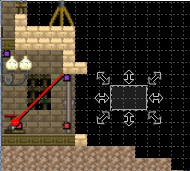
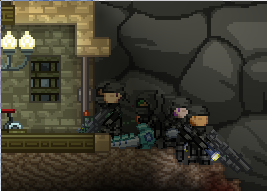
You can download my version of the “finished” mission, with all the objects, liquids, npcs and monsters I used here.

